Users can automatically get a contact form that goes directly to them without exposing their email address to site visitors.
This feature is added with the KTOO Authors plugin and relies on both the Gravity Forms and Advanced Custom Fields Pro plugins being activated and configured.
Setup
1. Create the contact form
Click New Form under Forms (or click on Forms to edit an existing form)
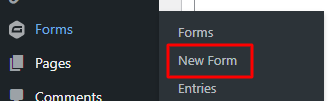
Enter a name for the form (and a description if desired) and click Create Form

Add fields and edit the form as you normally would.
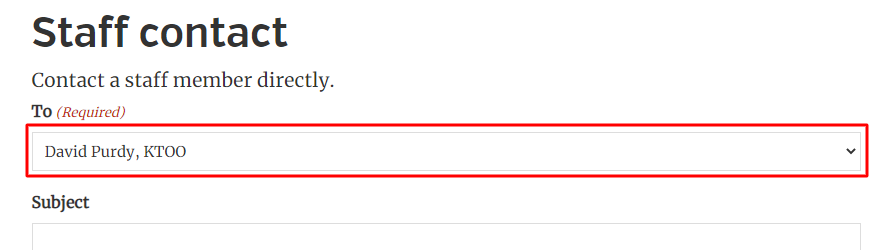
Add a User Contact Dropdown field as the “To” field of the contact form. This type of field will automatically be populated with registered site users.


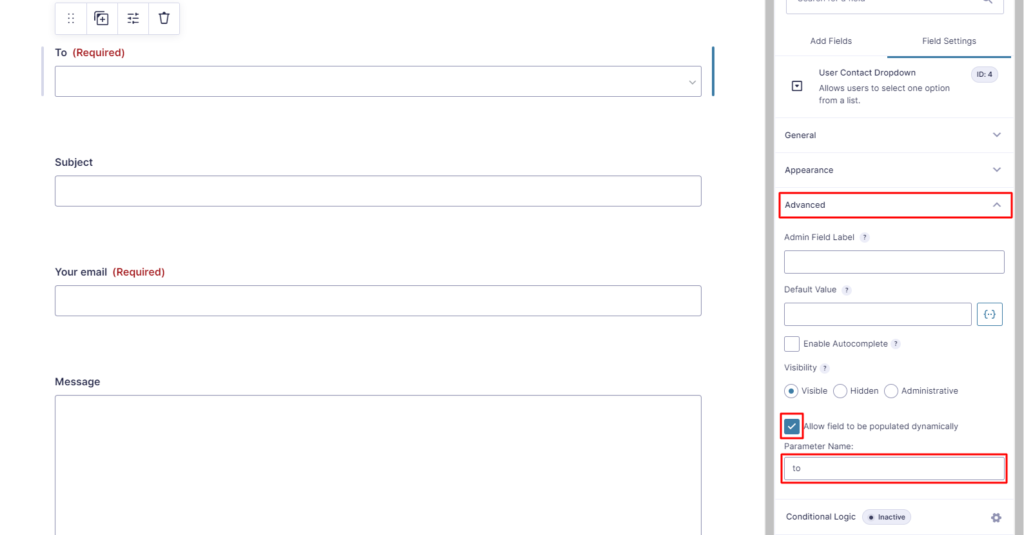
Finally, make sure we can link to this form with a prefilled value for the user it should send to. With the User Contact Dropdown field selected:
- Click the Advanced section to expand it
- Check the box labeled Allow field to be populated dynamically
- Enter a value in the Parameter Name which will show up in the URL when direct linking this form for a specific user (and make note of what you enter here – you’ll need it later on)
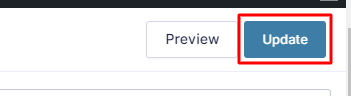
When you’re done editing the form, click the Update button in the upper right corner of the screen.
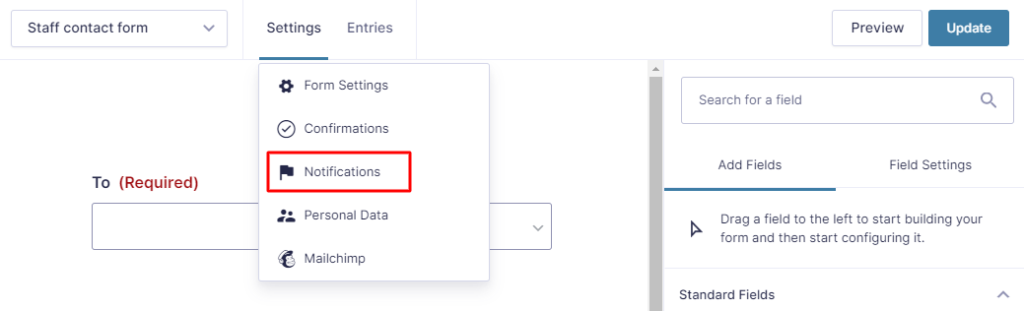
2. Set up form notifications to go to the selected user
Click Notifications from the form’s Settings dropdown menu.
Click the Add New button to create a notification that goes to the selected user, or click the the name of an existing notification that you want to be sent to the selected user.

Under the Send To option, choose Select a Field. In the Send To Field dropdown, select the name of the User Contact Dropdown field you added to the field in step 1 above.

Important: make sure the From Email is set to submissions@ktoo.org to help email be delivered and not mis-identified as junk by Outlook. To make it easier to respond to the person filling out the form, you can set Reply To to the field where they enter their email address in the form (click the icon at the right of the field to get a dropdown of all the available form fields).

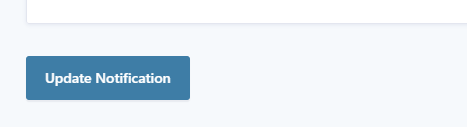
Click the Update Notification button at the bottom of the screen.
3. Create a page for the form
This will give the form an URL on the site.
Create a new page by clicking Add New under the Pages menu or editing an existing page.
Be sure to pay attention to the URL of the page – both its parent page (the contact page might be a good choice here) and the slug of the page itself (e.g., “staff”)

Add the form you created in step 1 above to the page (along with any other page content). The Gravity Forms site has instructions on how to add a form to a page.
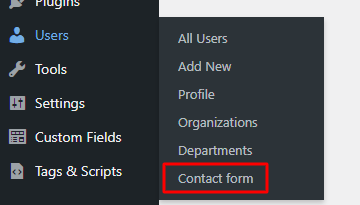
4. Direct user contact links to the page & form we just set up
Click the Contact form option under Users in the menu
Fill out the settings with:
- The page with the contact form (created in step 3 above)
- The dynamic population Parameter Name (from step 1 above)

Click Update to save the contact form settings.
Enable the contact form for individual users
Now that the contact form has been set up, you will need to enable it for individual users for them to show up in the “to” dropdown field of the form.
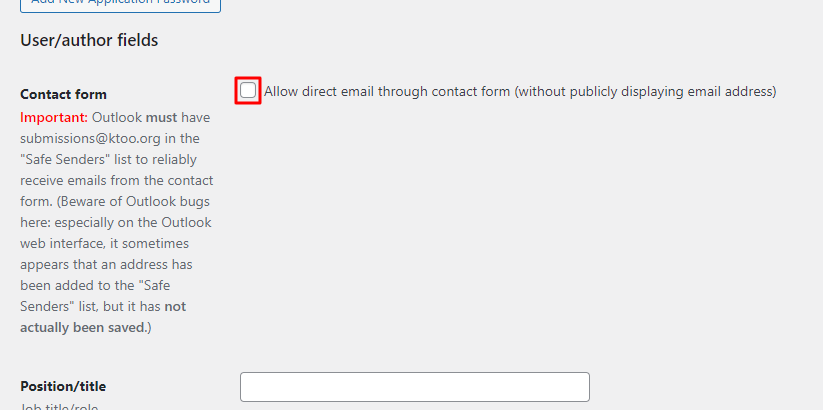
For each user who should be contactable through this form:
- Edit the user settings
- Select the Contact form checkbox (in the User/author fields section)
- Click the Update Profile button to save the settings
After you update a profile with this checkbox selected, you can make sure the user was added to the form by visiting the contact page you set up above and making sure that user appears in the “to” dropdown.